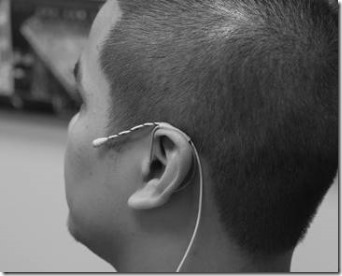
The Ear Rig & Practical Mic Placement
While the halo rig and toupee clip rig are popular means of forehead mic placement in theater production, situations will arise that make these rigs less than ideal or impossible. In these instances, placement may be achieved using the ear, glasses, hat, or other costume accessory.
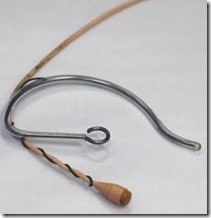
An ear rig is a great placement solution for a bald actor, a character who wears a hat on and off repeatedly throughout the show or if that actor is required to use or move their head frequently, potentially disrupting the forehead mic placement. This rig requires, at minimum, an ear loop to mount the microphone to, Hellerman sleeves and floral wire.
In order to help make the rig almost invisible, you will also need art supplies such as paint, markers, stain, and tape.
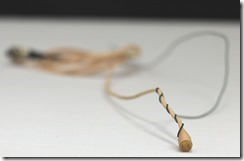
For an ear rig, the mic wire needs to be stiffened in order for the mic placement to remain consistent since the microphone wire itself is used to get the element into position. You start by wrapping floral wire around the mic wire about 2” from the mic capsule.
The next step requires an ear loop. There are two types generally used, the metal loop covered with plastic, and the fully nylon loop. You can also make your own from a coat hanger or other thin metal, but for the price, the pre-made loops can’t be beat. Ear loop use varies significantly among Broadway A2s; some prefer to cut the eye off the top of the loop, some like to have the loop bend completely around the bottom of the ear to keep it in place, some like to bend a straight piece down from the bottom of the loop to make it easier to tape in place, some like to build a small internal armature to make the rig stay in place better on the actor. In this example, we will display the simplest method that is in use on Broadway.
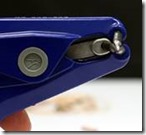
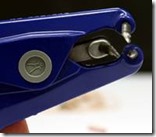
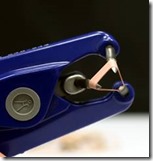
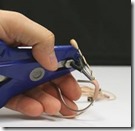
You will need a Hellerman tool and sleeves in order to build this rig properly. If you don’t have experience with a Hellerman tool and sleeves, it may be a bit overwhelming. The concept is simple; the sleeves may be stretched over anything that needs a rubberized finish, or to join two pieces together, similar to heat shrink tubing, but much more versatile. The Hellerman tool stretches the sleeve open so that items can be fed through the middle of the sleeve, then the sleeve is slipped off the open jaws onto the pieces that are fed through.
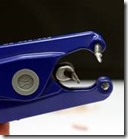
The jaws open by squeezing the handle:
In order for the sleeve to slip onto the jaws in the closed position and make it easy for the sleeve to come off the jaws, use a lubricant.
This can be the standard RS Components sleeve lubricant, hand sanitizer, or if you are really desperate, spit.
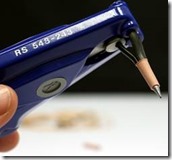
After the jaws are lubed, slide the sleeve onto the jaws and begin opening them up.
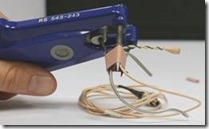
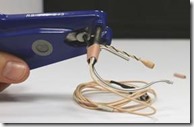
To build the ear rig, thread the mic capsule and ear loop through the opened Hellerman sleeve, and slightly close the jaws
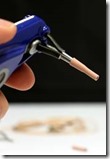
(don’t pinch the mic wire!). Then gently pull the sleeve off the jaws and onto the rig.
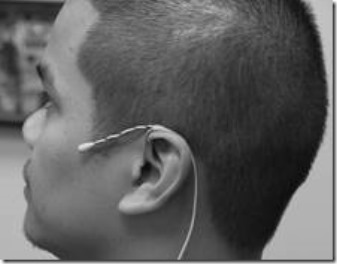
The rig can be held in place with a small bit of tape behind the ear over the ear loop.
The cable can be hidden and dressed in any number of ways using tape, wig clips or paint.
When a halo or toupee clip rig are not sufficient or possible, utilizing the ear rig or an appropriate prop clip is often a viable solution. Tune in next week to wrap up our wireless microphone technique series (for the time being!), and please be sure to submit any questions, comments, or suggestions to the Masque Sound team!


